Ever Done A Little DIY On Your Hair? Here's All You Need To Know About The Correction Process And How A Stylist Can Help!
Share
Have You Ever Done a Little DIY on Your Hair and Needed a Little
Colour Correction or Cut?
Here’s All You Need to Know About the Process and How We Can Help
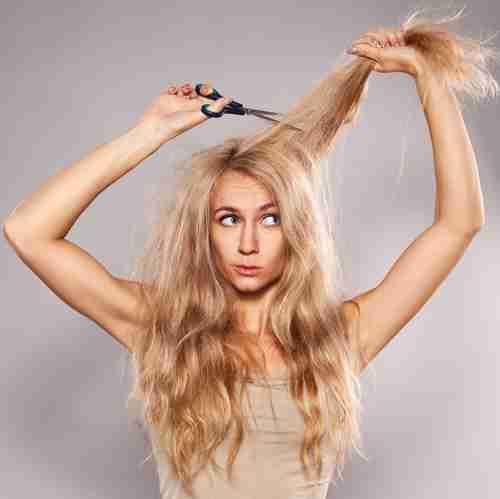
We’ve all been there. A little DIY hair experiment here and there—maybe a box dye,
a fun new colour idea or a 3am fringe after some wines —but sometimes it doesn’t turn out quite as expected. If you’ve ever found yourself in need of a correction, don’t worry! You’re not alone, and there’s a solution.
Here's everything you need to know about the process of hair correction and how we can help manage your DIY hair results to get you back to the colour and cut of your dreams.
Box dye may seem like a quick and affordable solution, but it often contains harsher
chemicals that can damage your hair, leading to dryness, breakage, and dullness.
The results can be unpredictable, with uneven colour and unwanted tones, especially if your hair is already coloured or damaged. The Colour Correction is not a quick fix—it’s a process that often takes more than one session to achieve the perfect result.
Here’s what you can expect when coming in for a color correction:
Step One: Assessment of Your Hair
First, a professional stylist will assess the damage, starting by examining your hair’s current condition, colour, and overall health. We’ll talk with you about your goals, home care routine and the results you’re hoping to achieve.
Step Two: Understanding the Damage
If your hair has been over-processed, we’ll need to determine the best course of action to restore it to health, whether through conditioning treatments, gentle toning, or strategic colour application. Trust the process!
Step Three: Customized Colour Formula
Based on your hairs needs, we’ll formulate the perfect colour mix to fix any brassiness, darken light spots, lighten dark spots, or bring out your desired tone. A professional colourist has a deep understanding of how different tones and pigments work, ensuring your hair comes out just right.
Step Four: Multiple Sessions May Be Required
For extreme cases, such as over-bleaching or heavy brassiness, colour correction might require more than one session. This gradual approach prevents further damage and helps keep your hair in good condition.
Step Five: Toning and Balancing
Toning can help eliminate unwanted yellow, orange, or red tones in your hair, leaving you with a cooler, more neutral colour. Depending on your hair’s needs, this step can make all the difference, paired with the perfect homecare routine.
The Cut Correction Process
Step 1: Book a Consultation
Come into the salon for a consultation with one of our expert stylists, before you
book we recommend you give us a ring, so we can allocate you with the stylist suited to the cut. During the consultation it’s super important to be open and know that our salon is a judgment free zone, there’s nothing we can’t correct.
Step 2: Discuss and Asses
The stylist will assess your haircut, evaluating the length, shape, and any uneven
sections, based on your haircut the stylist will discuss possible options for fixing it, including adjustments to the shape, length, and style.
Step 3: Custom Plan
A customized plan will be created to fix the cut, ensuring the final look is balanced
and flattering for your face shape and hair type.
Step 5: Execution
The stylist will carefully trim, blend, or reshape your hair to achieve the desired
results.
Step 6: Aftercare and Maintenance
The stylist will provide advice on how to maintain your new cut and suggest
products to keep your hair healthy and looking fresh.